Ah, Lupus. I have months of feeling well and then bam! Sores in my nose, face breaking out, joint pain, insomnia, weight gain, mental confusion, and on and on…
I have had this theory that the reason I wasn’t flaring was because of the diet, combined with my proactive sleeping. Even when I didn’t feel like I was going to die, I was taking lots of naps and staying in bed often. But then I way overdid myself a few weeks ago. I tried to test my theory, I guess (not really, I just happened to have a lot going on). Looks like I proved it correct! This time, at least. It isn’t easy because the inner me is still super active! I forget that person is gone.
Lesson learned. Ready for this flare to end. It has already subsided a little. But I still have all of those symptoms. And am super exhausted.
We have a good number of grocery staples that just go in the cart every time we go to HEB. Almond milk, OJ, gf bread, fruits and veggies, refried beans, and Lara bars. No matter what, we almost always need more of those things.
A friend made me some home made Lara bars a few months ago. I loved them and kept meaning to make them myself.
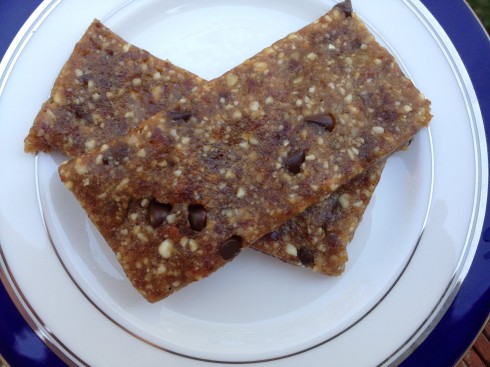
Finally, I did. And BOY am I glad! Homemade are just way, way better! We all like boxed Lara bars except Reid. He will eat them, if he is asked. But they are not his favorite. However, he LOVED these! I think it is the Mexican vanilla, the right amount of salt, and the tiny chocolate chips that makes these super.
So before you grab a box at the store next time, grab some nuts and dates and give these a go! And if you are looking for a great breakfast or snack item, look no further. Just tell your kids you made chocolate chip cookie dough bars!
Homemade Chocolate Chip Cookie Dough Lara Bars
- 3 cups of nuts: I’ve done half cashews, have walnuts and all walnuts. But you can also do peanuts or anything else. Play with the combo. Just stick with raw nuts and not salted and roasted.
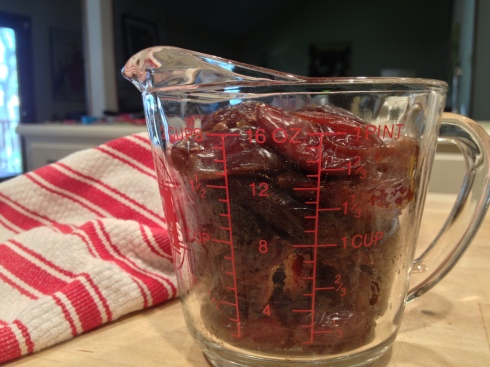
- 2 cups of packed dates
- 1 tsp of water (or more, if needed)
- 2 tsps of a good Mexican vanilla (NOT artificial vanilla flavoring, if possible)
- 1/2 tsp Kosher salt
- 1/3 cup mini dark chocolate chips
- My latest version also had 1/4 cup unsweetened coconut flakes and 1/4 cup chopped dried cherries. PLAY WITH YOUR ADD INS! You can do raisins, flax seeds, dried blueberries, cinnamon chips, anything!
Grind the nuts and salt in a food processor for a 3-5 seconds. Add the dates and grind away for about 15 more seconds. Pinch your mixture. Does it fall apart? If yes, then turn your processor back on and add in a teaspoon of water. Repeat, if needed. Now, add the 2 tsps of vanilla. It should have formed one giant clump of goodness. Now dump that into a bowl and add in your dark chocolate chips. Stir the mixture until everything is well combined.
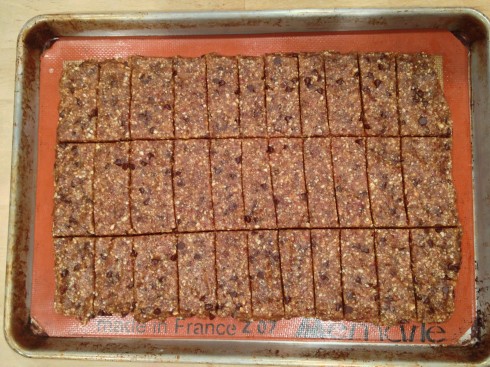
Lay parchment paper or a Silpat on your cookie sheet and using slightly wet hands, press the mixture into a big rectangle, leaving space on the sides. I used the margins of the Silpat as my guide in this pic, but the next time around, I made the rectangle smaller and cut them into thicker bars. Do whatever floats your boat. THIS PART IS OPTIONAL, but will make transferring easier. I did the last few batches without this step and prob won’t do it in the future: Stick the cookie sheet in the freezer for 15 minutes. Then pull it out, cut, and wrap in plastic wrap. From here, throw all of those wrapped bars in your freezer and Voila! Breakfast/snacks are finished!
A few notes….play with this recipe. Mix up the nuts and the add-ins. In my perfect world, I would have done dark chocolate mini chips with chopped dried tart cherries. But alas, this was for the family, not just me. Also, add cocoa powder for a chocolatey punch. You can’t mess this one up! Also, GO BUY A SILPAT IF YOU DON’T HAVE ONE!! We easily use ours anywhere from 2 – 10 times per week. Roasting veggies, baking anything, and then using them for things like this. Well worth the $20! Then you don’t have to wash the pan! Just the liner.


